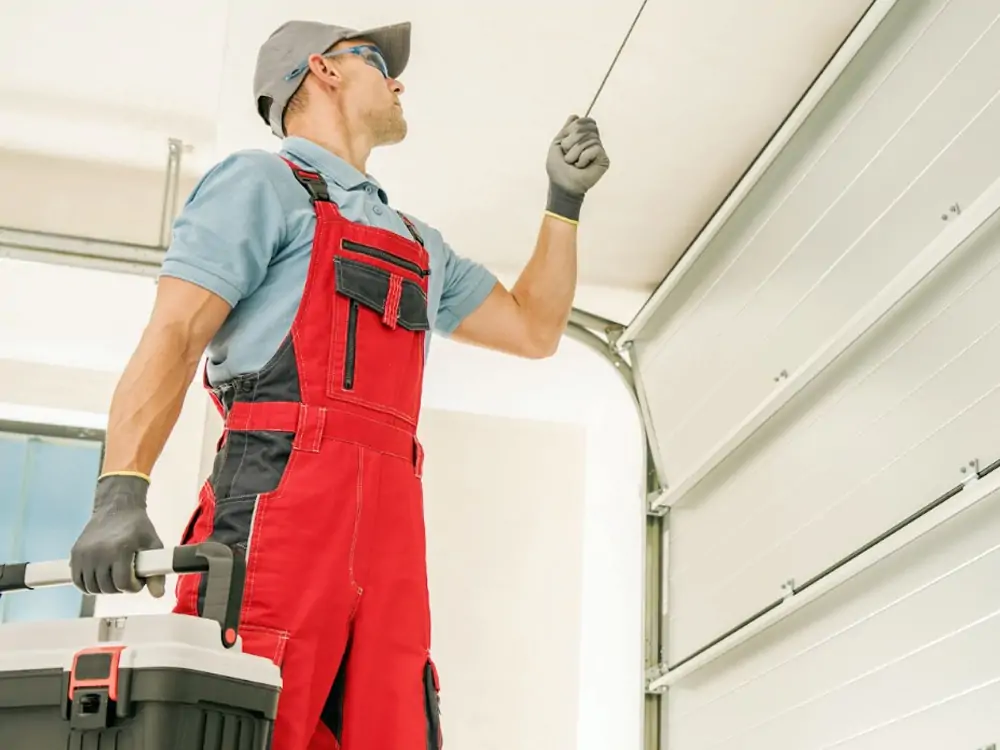
A garage is a sheltered space for vehicles or other storage equipment. Its primary purpose is to protect cars from the various elements and provide secure storage. Sealing the garage door is crucial to prevent weather elements, drafts, and pests from entering. It ensures energy efficiency and maintains a controlled environment inside a garage. Therefore, we can understand the significance of installing a garage door seal.
Garage door seals act as the first defense against various environmental elements. First of all, it offers protection from water & floods. It also decreases energy bills and increases insulation. In addition, installing a garage door seal also reduces damage to your garage door. Therefore, we must recognize the importance of the dual role of a garage door seal.
We know that every house owner increasingly prioritizes sustainability and cost savings. Thus, DIY changing garage door seals have become more popular nowadays. It is important to note that garage door seal replacement requires proper caution. You must be familiar with some necessary terms before starting this DIY project. With this aim, this article is prepared for you. We will discuss every detail you require during the garage door seal replacement. But first, we will discuss some famous garage door seals you may need in your process.
Types Of Garage Door Seals
Garage door seals also come in various types. They may vary based on the application area, size, and door types. You know, choosing the right kind of garage door seals is crucial. Why? Because it ensures effective sealing around your garage door. And you already know the benefits of effective sealing. We may find three significant types of garage door seals. They are:

Garage Door Weather Stripping Seals
These are the general types of door garage seals. Their primary function is to seal the gaps around the garage door. Instead, they are installed around the edges. They create a barrier that prevents rain, snow, and drafts from infiltrating the garage space. So, they ensure a controlled and comfortable environment within the garage. Ultimately, they contribute to energy efficiency.
Garage Door threshold seals
You may find these kinds of seals at the garage door’s bottom. It is important to note that these garage door threshold seals are not attached to the door. Rather, they are installed on the floor. Garage door threshold seals provide an additional layer of defense against external elements. These seals are particularly useful in areas prone to heavy rainfall and flooding.
Garage Door Bottom Seal
These garage door seals are installed at the garage door’s bottom. This seal prevents pests, trash, and chilly draughts from entering the garage. The most significant factor for these seals is frictional resistance. So, choose a material that can tolerate repeated frictions.
Required Tools & Materials
A successful installation of a garage door requires a set of essential tools. Each tool serves a specific purpose in ensuring a proper & effective seal. You may need the standard tools during the DIY garage door seal replacement process.
- A screwdriver typically helps you remove the existing seals and secure new ones. A regular-size screwdriver is perfect for this DIY installation.
- A hammer is used for driving in galvanized nails or screws. It is also necessary to use a hammer to pressure adhesive seals gently.
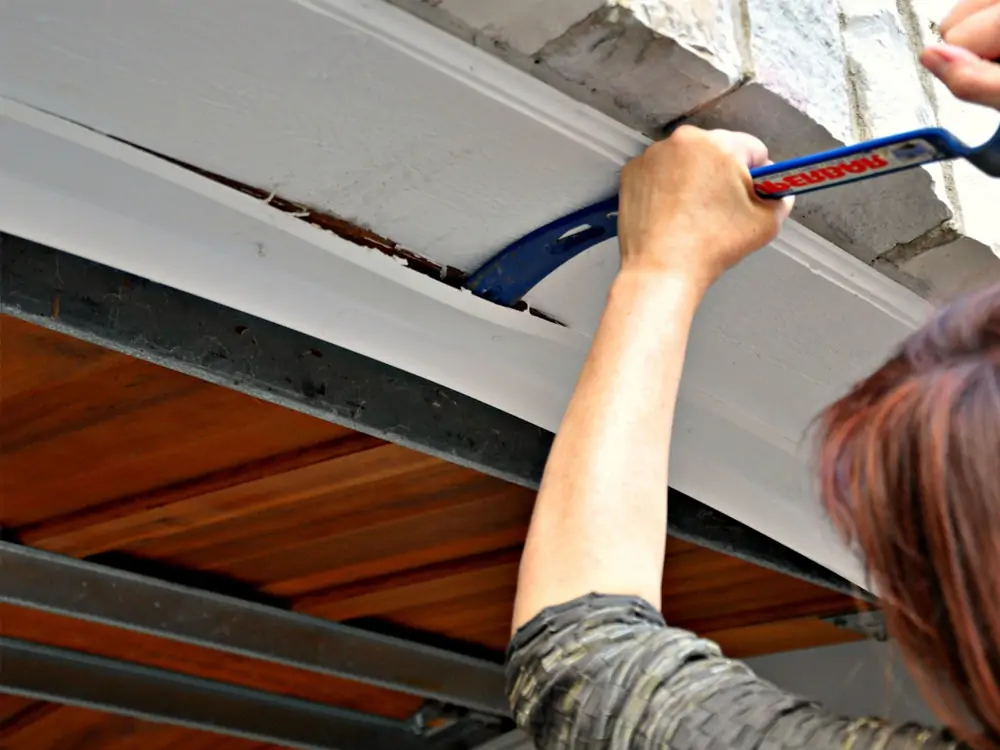
- A prybar is crucial for safely & efficiently removing old or damaged seals. It facilitates the smooth transition to new installations without causing damage to the garage doors.
- Measuring tape: Precision is vital in installing garage door seals. A measuring tape ensures accurate measurements.
- Adhesives or fasteners: You may need to choose between these two options. This depends on the seal materials and the type of garage door.
- A utility knife is used to cut the seal per the measurement dimensions.
Choosing a suitable weather stripping material is also crucial. You know, there are various types of material available in the market. So, based on your specific application, choose the right one.
- Rubber is the most popular material used in garage door weather seals. EPDM is considered to be the most popular in this case. Rubber offers excellent durability & flexibility.
- Vinyl seals, on the other hand, offer excellent water resistance.
- Brush Strips are also popular as garage door seals. However, they may not be suitable for places prone to water or snow.

How To Install Garage Door Weather Stripping
Before diving into the installation process, ensure your garage door is clean and dry. Most importantly, wear safety gear such as gloves & glasses. Now, let’s get to work and walk through each step of installing a garage door weather stripping.
Step 1: Remove The Old Weatherstripping
Carefully peel off or detach the existing weather stripping using a utility knife or prybar. Make sure to remove all nails or screws and check the door frame for any signs of damage. In this case, pay attention to the attachment of the seal strips and the door frame. Now, clear all the residue and clean the surface of the door frame.
Step 2: Measure Your Garage Door’s Perimeters
Precision in measurement is crucial for a snug and practical fit. However, use a measuring tape to obtain accurate measurements of the top & sides of the garage door. Now, determine how long your garage door seal should be. Try to keep an extra length so that you can cover up when it’s necessary.
Step 3: Cut The Seal Strips As Needed
Using a utility knife, cut the new weatherstripping to match the measurements taken. As said, you can take an additional length. Remember, a little longer strip can be adjusted by cutting, but a short strip can’t be. So, to make sure you are not making a mistake, try to keep an extra length of the strip.
Step 4: Install The Seal Strips
Once you’ve prepared the garage door seal strips, it’s time to install them. The installation method can involve either adhesive or screws. It practically depends on your preference and the type of seal.
If you choose adhesive installation, apply a generous & even layer of adhesive to the back of the weather stripping. You can also use some adhesive on the surface of the door sides. At this stage, ensure that the adhesive suits your chosen seal strip material. Press the garage door seal firmly against the door. It allows the adhesive to bond securely.
On the other hand, for a more robust installation, you can consider using screws. Usually, these types of door seal strips come with holes. If not, you can pre-drill these holes to avoid splitting. Position the seal strip along the door’s edges and secure them in place with screws or nails. This method provides added durability.
Step 5: Finishing Touches
To complete the installation, carefully inspect the door seal strip you have installed just now. You can check for gaps or uneven sections. If you find any, gently press along the length of the seal strips to ensure proper adhesion and alignment. Finally, confirm that the seal creates a tight barrier against drafts & moisture.

Frequently Asked Questions
Q1. How do I know if my garage door seal strip is bad?
Answer: If you see visible wear, cracks, or gaps, replace your garage door seal as soon as possible. In addition, draughts, water leaks, or increased noise demand an urgent seal replacement. These are the most prevalent indications of a faulty garage door seal.
Q2. How do you seal the bottom of a garage door from water?
Answer: Seal the bottom of a garage door from water by installing a waterproof threshold seal or bottom seal. Ensure a snug fit to prevent water infiltration.
Q3. How often should you replace the garage door seal?
Answer: It is recommended to replace the garage door seal every 1-2 years or when signs of wear appear. It depends on the frequency of the traffic using the garage.
Expert Advice
We have reviewed a comprehensive DIY garage door seal replacement process guide. It clearly shows you all the step-by-step procedures. You must be careful at every stage, from preparing the necessary tools to finishing. We recommend you consult with experts to learn more about their techniques. Their insights can help you identify the most suitable seal for your needs. Ultimately, you can ensure that the installed seal strip is functioning seamlessly. However, let’s explore some tips for optimal garage door seal performance.
- Regular Maintenance: Schedule routine maintenance. In this case, check for wear, tears, or gaps in the seal. Carefully address any issue to maintain the seal’s effectiveness.
- Choosing the correct seal: Consult with experts to select the appropriate type of seal. Consider the essential factors before choosing it. You can consider the application, garage door type, and climate conditions. Your choice must ensure optimal performance.
- Proper Installation: Follow manufacturer guidelines for accurate installation. You can get all the guidelines for installing and maintaining the garage door weather stripping at Seashore Rubber.
- Timely replacements: Finally, replace your garage door seal every 1-2 years or as the manufacturer recommends.
We recommend our readers follow expert advice and the proper installation process. It ensures that your garage door seals perform optimally and provide reliable protection. It also extends the lifespan of the entire garage system. If you have any questions, contact our customer service team.
